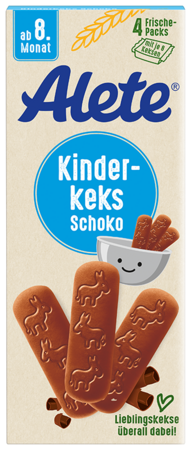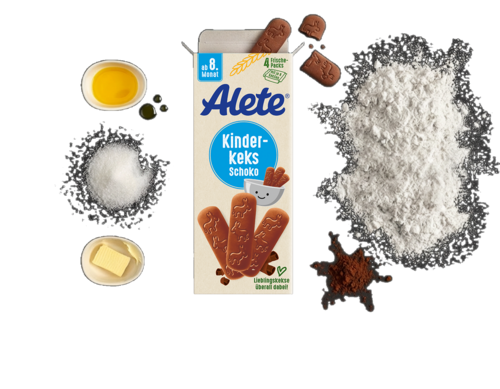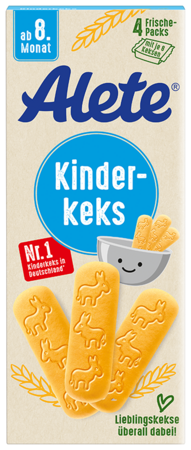
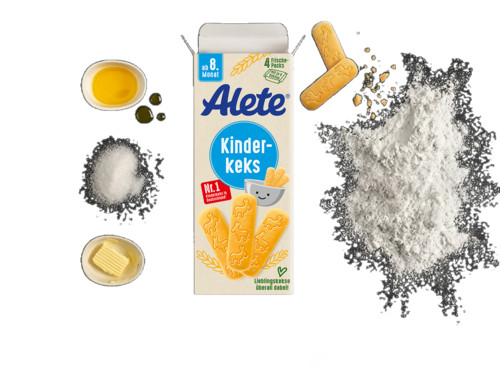
Kinderkeks
Healthy eating also means letting little foodies have a snack every now and then. But be careful: ...

A sheet of paper, a few colors, and little hands just eager to get started—that’s all it takes for one of the most wonderful activities for toddlers between the ages of 1 and 3. Painting is self-expression, experimentation, and discovery all in one. Whether using a brush, fingers, or a sponge, there’s no right or wrong way to paint—no model to follow and no perfect result.
What ends up on the paper is pure creativity. And hanging that colorful work of art on the fridge? An absolute must.

Here's what you'll need
Here's how to do it
1. Preparation—set things up smartly Lay out the drop cloth, put your child’s painting apron on, and get the paints and brushes ready. Tip: Less is more—start with two or three colors so your child doesn’t get overwhelmed. You can always add more colors later.
2. Just let them get started Give your child a brush or some paint, and then: the stage is set. Toddlers between 1 and 2 years old often explore colors with their fingers at first. This is completely normal and part of the process. Just let it happen and enjoy the moment.
3. Discover finger painting Finger painting is an absolute favorite for many toddlers, and for good reason. The direct connection between the hand and the paper is an intense sensory experience. Simply put finger paint or watercolors on the palm of their hand and let them start painting. By the way, handprints on paper also make wonderful keepsakes.
4. Trying Out Techniques Starting around age 2, it’s fun to try out different techniques:
5. Paint Together Sit down and paint along with your child—they’ll be thrilled. You don’t have to create a masterpiece: a few lines, a circle, a sun—that’s more than enough. Painting together is less about an art lesson and more about quality time. And that’s exactly what makes it so valuable.
6. Celebrate the artwork. Once the picture is finished—or at least finished enough—let it dry together and find a special spot for it. The fridge, a bulletin board, or a window: For your child, this moment marks the true conclusion of the experience and boosts their self-confidence immensely.
Alete Tip: After so much creative energy, a little break is more than deserved. Clean up together—washing hands can even be fun for toddlers—and then treat yourselves to a quiet snack break. A relaxed ending turns the painting session into a well-rounded, shared experience.