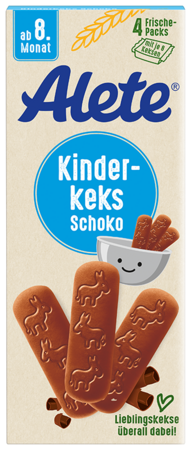
Kinderkeks
Healthy eating also means letting little foodies have a snack every now and then. But be careful: ...

Place a colorful ball of playdough in little hands - and watch what happens. Squeezing, rolling, tearing, shaping - for toddlers between 1 and 3 years old, playing with modeling clay is pure joy of discovery. And along the way, a lot happens: fine motor skills, concentration, and creativity are fostered through play, while your child is completely immersed in their own little world.
Playing with modeling clay doesn’t require a template or a perfect result. It’s okay to make a mess; it’s okay to mix the colors together - and in the end, the “clay monster” doesn’t have to please anyone but its creator.

Here's what you'll need
Here's how to do it
1. Preparation: Lay the mat on the table or floor and set out the playdough and supplies. Tip: A tray or silicone mat makes cleanup much easier afterward - and your child can still play completely freely.
2. Just get started Give your child a piece of playdough and see what they do with it. Many toddlers intuitively start squeezing, rolling, or tearing it - without any instructions. Just let it happen. No pressure, no modeling, no “right or wrong.”
3. Shape together Show your child how to roll a ball, form a snake, or flatten a disc—and just demonstrate it yourself. Toddlers love to imitate, but they love experimenting in their own way even more. Both are perfect.
4. Use molds and cookie cutters Starting around age 2, cutting out shapes is a lot of fun. Stars, hearts, animals - just flatten the playdough and get started. Plastic utensils for “cutting” are also a big hit and, as a bonus, help develop a sense of how to use tools.
5. Incorporate natural materials Sticks, stones, or leaves can be pressed wonderfully into the playdough - and turn a simple ball into a hedgehog, a tree, or a face. Toddlers love combining different textures.
6. No need for a perfect result In the end, everything can be kneaded back together into a colorful ball - or the playdough monster can get a place of honor on the windowsill. Both are perfectly valid options.
Alete Tip: Playing with playdough makes you hungry - at least that’s what most toddlers claim shortly afterward. Plan a short snack break after the creative session and turn it into a shared ritual: clean up, wash hands, and snack together. Small routines like these give toddlers structure and security—and give you a brief moment to catch your breath.